I have heard a number of times that though the videos are great for learning it would be awesome to see all the steps written out. I am much slower at writing than I am at saying, but I think it would be good to have a written tutorial as well. I am going to treat this article as a bit of a living article. I wanted to get it out there but I am sure I can improve. I will add some additional links to videos and perhaps some updated language as time goes on.
I have tried to take useful screenshots along the way and divide this up into a set of easily follow-able steps.
Unpack your new purchase into inventory if needed.
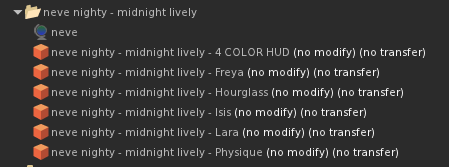
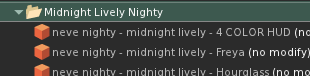
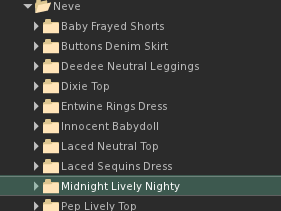
Rename the folder: You want a name that is both descriptive to you and unique. The folder name you choose here is the name you will give to the item in your wardrobe. You should try and be consistent in naming. Names should avoid the use of punctuation if at all possible.
Create Item Folders: Wardrobe works best when you can be very specific about which item you are wearing. Most items of clothing these days come with multiple sizes, different HUDs and other accessories. To get the most of your wardrobe you want to create sub-folders for each one of the items in your purchase you may want to wear. If two or more items will always go together they can go into a single folder. If you have items you will never use you can either delete them or put them into a folder called Extras or something similar. The names of these folders do not need to be unique, they should be descriptive.
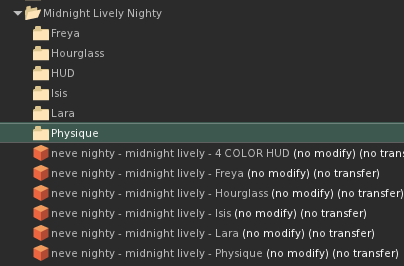
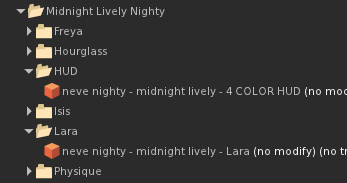
Move Items to Folders: Once you have the sub-folders you need move the appropriate items into the right folders. Anything you don’t want to keep like advertisements, landmarks, extra notecards can be deleted. (this is a great way to get the junk out of inventory)
Move Folder to RLV: Drag the folder with your new items into your RLV folder. You can further organize this folder in any way that works for you so long as the folders for your items all have unique names.
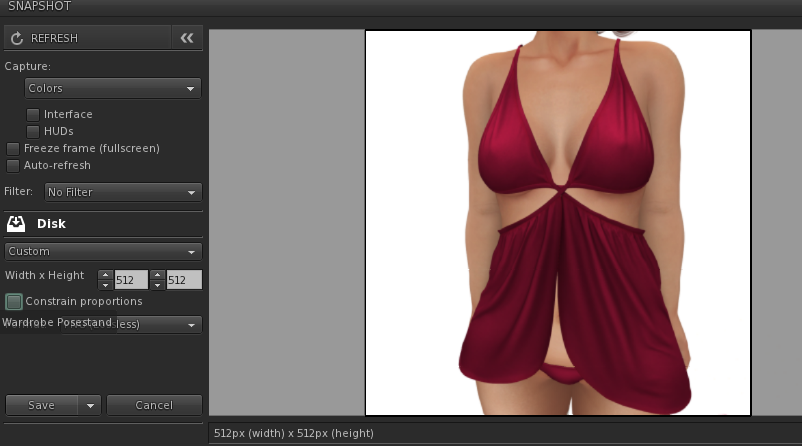
Take a Snapshot: Next step is to hop on your posestand and take a picture. set the snapshot to save to disk and make sure the dimensions of the photo are the same for both height and width (you want a square). I recommend a 512×512 photo. Line up your shot the way you want and click Save.
Save the Picture: When saving I like to put all my photos into one folder I call Uploads. Make sure the name you give to your photo is the same as the folder name you used in step #2 above. You can also add extra reminders about the item to the name when you save it to use later as tags.

Open Wardrobe: next thing to do is to open your Wardrobe webpage in the browser on your computer. You will have an import option in the menu bar at the top. Click that and then Upload Image.

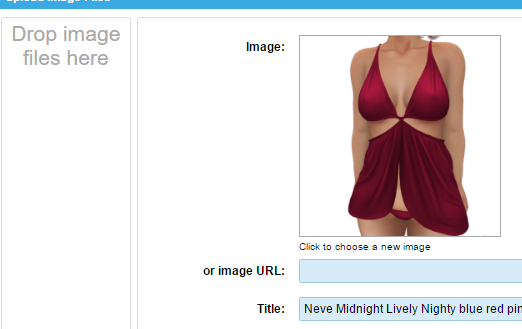
Enter Wardrobe Details: Fill in the name and tags for your item. Super important: make sure the folder name you used in step 2 and the Title in Wardrobe match exactly.You can also include remarks and comments if you want to remember something special about the outfit or item. On the sub-folders line you can list some of the sub-folders you created to wear by default. For example, if you have both a Lara body and a Physique body but most often wear Lara. You could put the Lara subfolder and perhaps your HUD subfolder on the sub-folder line. When you click wear it will wear those two items. You can also tell Wardrobe to detach certain items when wearing this if needed. Be sure to Click Submit when done.

Test Wear Your Item: Click the Wear button (Circled in Red) to wear your default items or click the Wear Options button (Highlighted Yellow) to select individual sub-folders to wear.

That is the process. It likely seems like a lot here, but over time this will become quite a quick process for you.
Thank you Butta! As always so helpful and I really love seeing it in writing! You rock!